Getting Started with Basic DIY Car Maintenance
Hey there! So like, I've been driving for about two years now and honestly, car maintenance used to scare me so much. But after spending way too much money at repair shops and watching my older brother fix his truck, I realized that lots of car stuff isn't as hard as it looks. Plus, with how expensive everything is getting in Canada right now, learning to do some basic maintenance yourself can save you hundreds of dollars every year.
The thing is, Canadian winters are brutal on our cars. I live in Hamilton, and the salt on the roads, the freezing temperatures, and all that stop-and-go traffic during winter months really takes a toll on vehicles. That's why learning basic DIY maintenance isn't just about saving money - it's about keeping your car reliable when you really need it to work.
What I've learned is that you don't need to become a professional mechanic to handle the most common car problems. With some basic tools, a bit of patience, and the right knowledge, you can tackle oil changes, brake pad replacements, battery issues, and lots of other maintenance tasks that would normally cost you big money at a shop.
In this guide, I'm going to share everything I wish someone had told me when I first started learning about car maintenance. We'll cover the essential tools you need, the most important maintenance tasks to master, and how to troubleshoot common problems that Canadian drivers face every day.
Essential Tools Every DIY Mechanic Needs
When I first started doing my own car maintenance, I made the mistake of trying to get by with just basic household tools. That didn't work out so well! After talking to experienced mechanics and learning through some frustrating trial and error, I figured out which tools are actually essential versus which ones are just nice to have.
The most important thing to understand is that quality tools are worth the investment. Cheap tools can break when you're in the middle of a repair, which is not only frustrating but can also be dangerous. I learned this the hard way when a cheap socket wrench slipped and I ended up with bruised knuckles and a stripped bolt.
Basic Hand Tools
Your foundation toolkit should include a good set of metric and imperial wrenches, since cars use both depending on the manufacturer and component. A quality socket set with both shallow and deep sockets is absolutely essential - you'll use these more than any other tool. Don't forget ratcheting wrenches, which make working in tight spaces so much easier.
Screwdrivers are obviously important, but get ones specifically designed for automotive work. Regular household screwdrivers often aren't long enough or strong enough for car applications. I also recommend getting a set of Torx bits, since many newer cars use these instead of traditional screws.
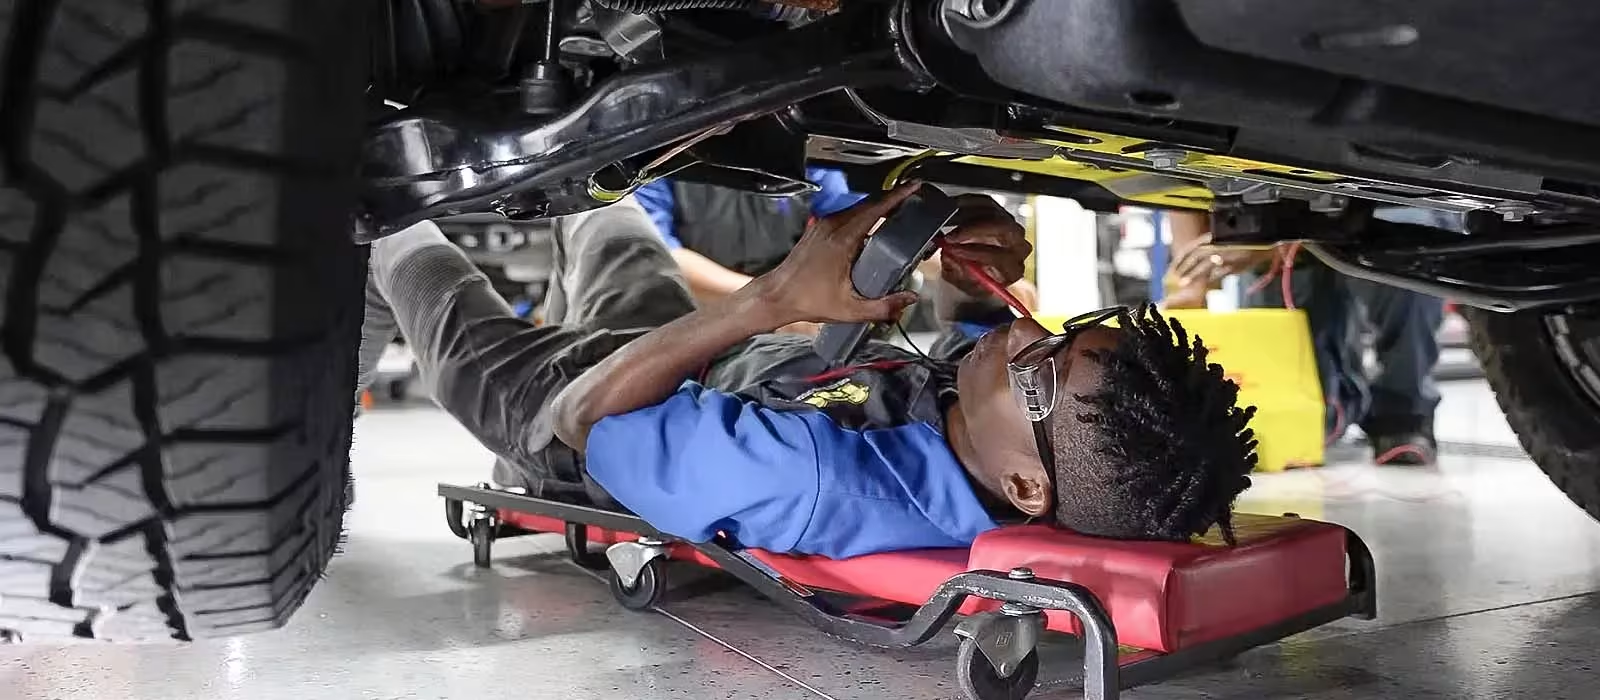
Safety and Lifting Equipment
This is where you absolutely cannot compromise on quality. A good floor jack and a set of jack stands are essential for any work that requires getting under your car. Never, ever trust just a jack to hold up your vehicle - always use jack stands as backup. I've heard too many scary stories about people getting seriously hurt because they skipped this safety step.
Safety glasses and work gloves are non-negotiable. Car fluids can be corrosive, and metal shavings or debris can fly up unexpectedly. A good work light or headlamp is also crucial - you'll be amazed how often you need extra light to see what you're working on, especially in wheel wells or engine compartments.
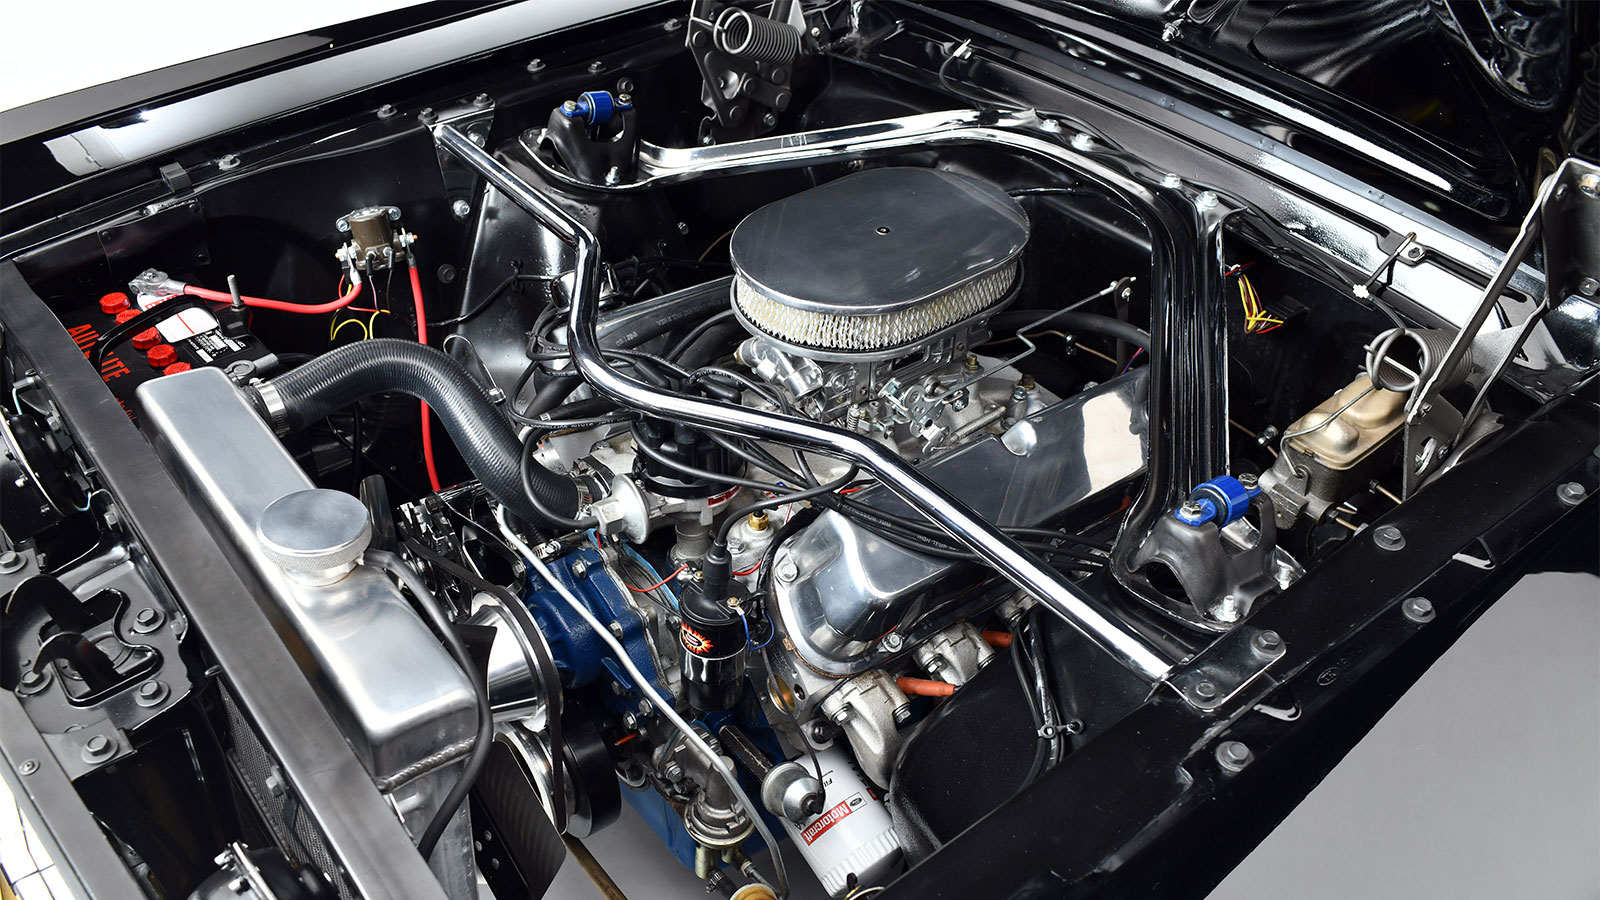
Mastering Oil Changes and Fluid Maintenance
Oil changes are probably the best place to start your DIY maintenance journey because they're relatively simple but super important for your engine's health. The first time I changed my own oil, it took me almost two hours because I was being extra careful and double-checking everything. Now I can do it in about 30 minutes, and I save around 60 dollars compared to what the quick-lube places charge.
The key to successful oil changes is preparation and having the right supplies ready before you start. You'll need the correct amount and type of oil for your specific vehicle, a new oil filter, an oil drain pan that holds more than your engine's oil capacity, and the right size wrench for your drain plug.
Choosing the Right Oil for Canadian Conditions
Living in Canada means dealing with extreme temperature variations, which affects what type of oil you should use. During our cold winters, conventional oil can get thick and sluggish, making it harder for your engine to start and potentially causing wear during those first few minutes of operation.
Synthetic oil flows better in cold temperatures and maintains its protective properties across a wider temperature range. Yes, it costs more upfront, but it lasts longer and provides better protection, especially if you do a lot of short trips or cold-weather driving. For most Canadian drivers, a 5W-30 or 0W-30 synthetic oil is a good choice.
Other Essential Fluid Checks
While you're under the hood changing oil, it's the perfect time to check other fluids. Coolant levels are especially important to monitor since overheating can cause expensive engine damage. In Canada, make sure your coolant mixture is appropriate for the lowest temperatures you'll encounter - usually a 50/50 mix of antifreeze and water.
Brake fluid, power steering fluid, and transmission fluid should also be checked regularly. These fluids don't need to be changed as often as oil, but they're critical for safety and proper vehicle operation. Learn what each fluid should look like when it's fresh versus when it needs to be changed.
Brake System Maintenance and Safety
Working on brakes honestly made me nervous at first because they're so critical for safety. But brake pad replacement is actually one of the most straightforward maintenance tasks once you understand the process. The key is taking your time, following proper procedures, and never rushing through any step.
Canadian driving conditions are particularly hard on brakes. Our winters mean lots of salt exposure, which can cause corrosion, and the frequent freeze-thaw cycles can affect brake performance. Plus, if you do any mountain driving or live in hilly areas, your brakes work harder than they would in flatter regions.
Recognizing When Brakes Need Service
The most obvious sign that your brake pads need replacement is squealing or grinding sounds when you brake. But there are other indicators you should watch for: longer stopping distances, a brake pedal that feels spongy or goes closer to the floor than usual, or vibrations when braking that might indicate warped rotors.
Visual inspection is also important. Most brake pads have wear indicators - small metal tabs that will start making noise when the pad material gets thin. You can also look through your wheel spokes to check pad thickness. If the friction material is less than a quarter-inch thick, it's time for replacement.
Basic Brake Pad Replacement Process
Before starting any brake work, make sure you have the correct replacement parts for your specific vehicle. Brake pads aren't universal, and using the wrong ones can be dangerous. You'll also need brake cleaner, high-temperature brake grease, and possibly new hardware like clips and shims.
The basic process involves removing the wheel, taking out the old brake pads, cleaning everything thoroughly, and installing the new pads with proper lubrication on the contact points. Always work on one side at a time so you can reference the other side if you forget how something goes back together.
Battery and Electrical System Troubleshooting
Car batteries have a tough life in Canadian weather. The cold temperatures reduce their capacity, while the hot summers can cause the electrolyte to evaporate. I've learned that understanding your electrical system can save you from being stranded and help you avoid unnecessary towing charges.
Most electrical problems that leave you stranded are actually pretty simple to diagnose and fix. Dead batteries, corroded terminals, and loose connections account for the majority of roadside electrical issues. Learning to properly test and maintain your battery can prevent most of these problems.
Testing Battery Health
A basic multimeter is an invaluable tool for electrical troubleshooting. A healthy 12-volt battery should read around 12.6 volts when the engine is off and the battery has been sitting for a few hours. When the engine is running, you should see 13.5 to 14.5 volts, which indicates that the alternator is properly charging the battery.
Load testing is more comprehensive but requires specialized equipment. Many auto parts stores will test your battery for free, which is worth doing if you're experiencing starting problems or if your battery is more than three years old.
Cleaning and Maintenance
Corroded battery terminals are probably the most common electrical problem I see. The white, crusty buildup around the terminals creates resistance that prevents proper electrical flow. Cleaning this corrosion is simple but makes a huge difference in reliability.
Use a mixture of baking soda and water to neutralize the acid corrosion, then scrub with a wire brush until the terminals are shiny. After cleaning, apply a thin coat of petroleum jelly or specialized terminal protector to prevent future corrosion. This simple maintenance task should be done every few months.
Tire Care and Seasonal Considerations
Tire maintenance is especially important for Canadian drivers because we deal with such varied road conditions throughout the year. Proper tire care isn't just about safety - it also affects fuel economy, handling, and how long your tires last. I've learned that spending time on tire maintenance saves money in the long run and keeps me safer on the road.
The most important thing to understand about tire care is that it's not just about checking air pressure once in a while. Proper rotation, alignment monitoring, and seasonal tire changes all play important roles in maximizing tire life and maintaining safe driving characteristics.
Pressure Monitoring and Adjustment
Cold Canadian winters cause tire pressure to drop significantly - typically about 1-2 PSI for every 10 degrees of temperature decrease. This means that tires properly inflated in summer will likely be underinflated by winter, affecting handling, fuel economy, and tire wear patterns.
Check tire pressure at least monthly, and always when the tires are cold - meaning the car hasn't been driven for at least three hours. The correct pressure for your vehicle is listed on a sticker inside the driver's door frame, not on the tire sidewall. That number on the tire is the maximum pressure, not the recommended pressure.
Rotation and Wear Pattern Analysis
Regular tire rotation helps ensure even wear across all four tires, which maximizes their lifespan and maintains consistent handling. Most vehicles should have tires rotated every 8,000 to 12,000 kilometers, but check your owner's manual for specific recommendations.
When rotating tires, take time to examine the wear patterns. Uneven wear can indicate alignment problems, suspension issues, or improper inflation. Addressing these problems early can prevent more expensive repairs and extend tire life significantly.
Building Confidence and Expanding Skills
The most important thing I've learned about DIY car maintenance is that confidence builds gradually through successful experiences. Don't try to tackle everything at once - start with simple tasks like oil changes and fluid checks, then gradually work up to more complex repairs as your skills and comfort level improve.
Keep detailed records of what you've done and when you did it. This helps you track maintenance intervals and can be valuable if you ever sell the vehicle. Take photos during repairs so you can reference how things should look when you're reassembling components.
Remember that knowing your limits is just as important as expanding your skills. Some repairs require specialized tools or expertise that make professional service the safer and more economical choice. The goal isn't to replace professional mechanics entirely, but to handle routine maintenance and simple repairs that can save you significant money over time.
With the skills covered in this guide and a commitment to safe practices, you'll be well on your way to mastering DIY car maintenance. Not only will you save money, but you'll also gain the confidence that comes from understanding how your vehicle works and being able to keep it running reliably through all the challenges that Canadian driving conditions can throw at you.
json